Step-by-Step Guide: How to Conduct a DIY Energy Audit to Reduce Costs
Are you spending more on your energy bill than you should be? Learning how to conduct a DIY energy audit is your first step towards reducing those costs. In this practical guide, you’ll learn to analyze your energy profile, seal leaks, optimize insulation, and more. By the end of this article, you’ll have concrete steps to improve your home’s energy efficiency without the fluff.
Key Takeaways
-
Conducting a DIY energy audit involves understanding your energy profile by examining past bills for comparison with local averages and identifying factors affecting energy consumption to establish baselines and performance indicators.
-
Detecting and sealing air leaks, addressing insulation and ventilation adequacies, and maintaining as well as upgrading heating and cooling systems are key to improving home energy efficiency and reducing costs.
-
In addition to structural improvements, leveraging technology by switching to energy-efficient lighting, implementing smart home solutions, and actively managing water heating and usage can contribute to substantial energy and cost savings.
Understanding Your Energy Profile
To kick off your DIY energy audit, it’s essential to get a snapshot of your current energy consumption. Begin by analyzing your energy bills over the past year. This will help you account for seasonal fluctuations and establish a baseline for comparison. Armed with this information, compare your energy usage to local averages. If your consumption is significantly higher—say, by an average of 10 KWh—this flags a potential inefficiency needing a closer look.
Additionally, consider the factors impacting your energy use, including weather conditions and operating hours. A deeper dive into the data will reveal your energy intensity—essentially, how much energy you’re using relative to the size and usage of your home. With a baseline established, you can begin to monitor ongoing consumption, comparing it against the performance indicators to gauge the effectiveness of the improvements you’ll make.
Detecting and Sealing Air Leaks
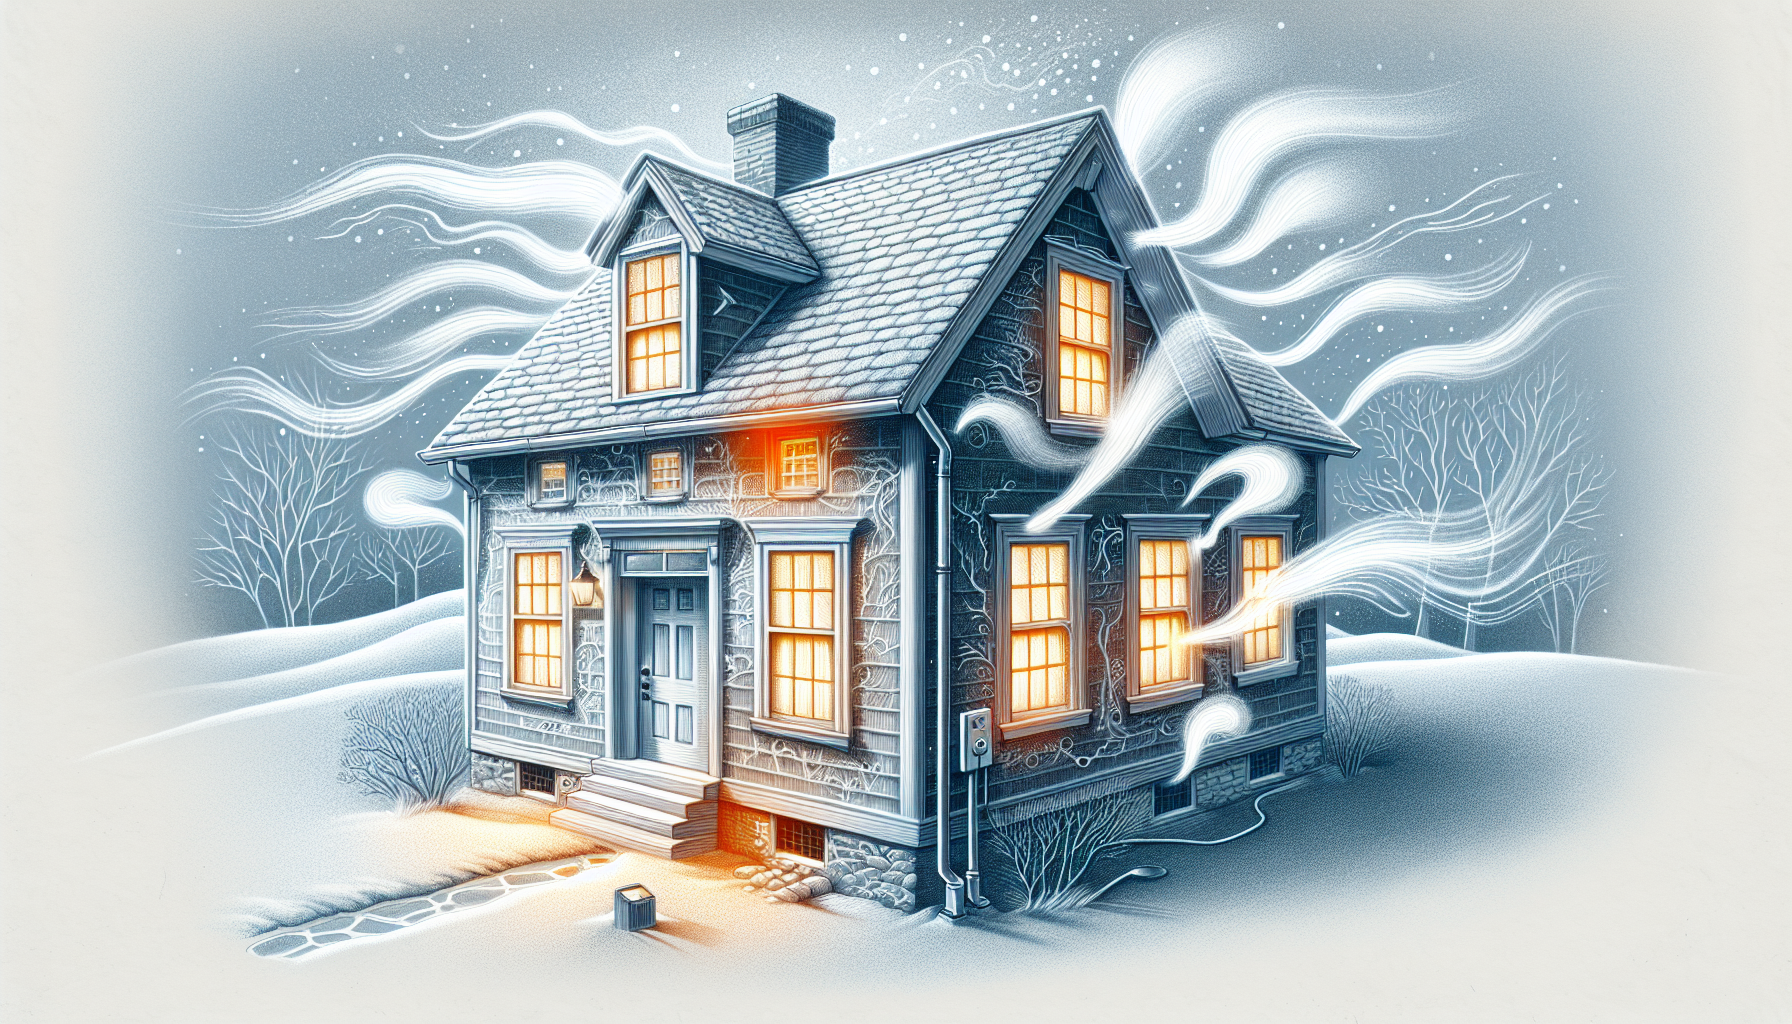
Moving to the physical aspects of your home, it’s time to hunt down those sneaky air leaks. These culprits are often responsible for unnecessary energy costs, and sealing them can save you a noteworthy 10% to 20% annually. Common areas where air might be escaping include windows, doors, and electrical outlets.
A simple way to detect these leaks is by using an incense stick. Hold it up to the suspicious areas on a windy day or when your heating or cooling system is running, and watch the smoke. If it wavers or is sucked out of or into the room, you’ve found a leak that needs sealing.
Uncovering Hidden Drafts
Sometimes, drafts can be elusive, hiding in places you wouldn’t expect. To outsmart these hidden drafts, employ a heat detector to reveal areas of heat loss that are not immediately apparent to the naked eye. Moreover, keep an eye out for tell-tale signs like dirty spots on ceiling paint or carpet, which can indicate air leaks at wall and ceiling joints or floor joists.
Sealing Techniques
Once you’ve detected those air leaks, it’s time to seal them up. The tools of the trade are caulking and weatherstripping, both cost-effective and can offer a quick return on investment, typically within a year. Caulk works best for static components like window frames, while weatherstripping is ideal for parts that move, such as doors and operable windows.
For larger gaps, expanding foam sealants are your best bet, as they can fill in the spaces around baseboards and windows.
Evaluating Insulation and Ventilation
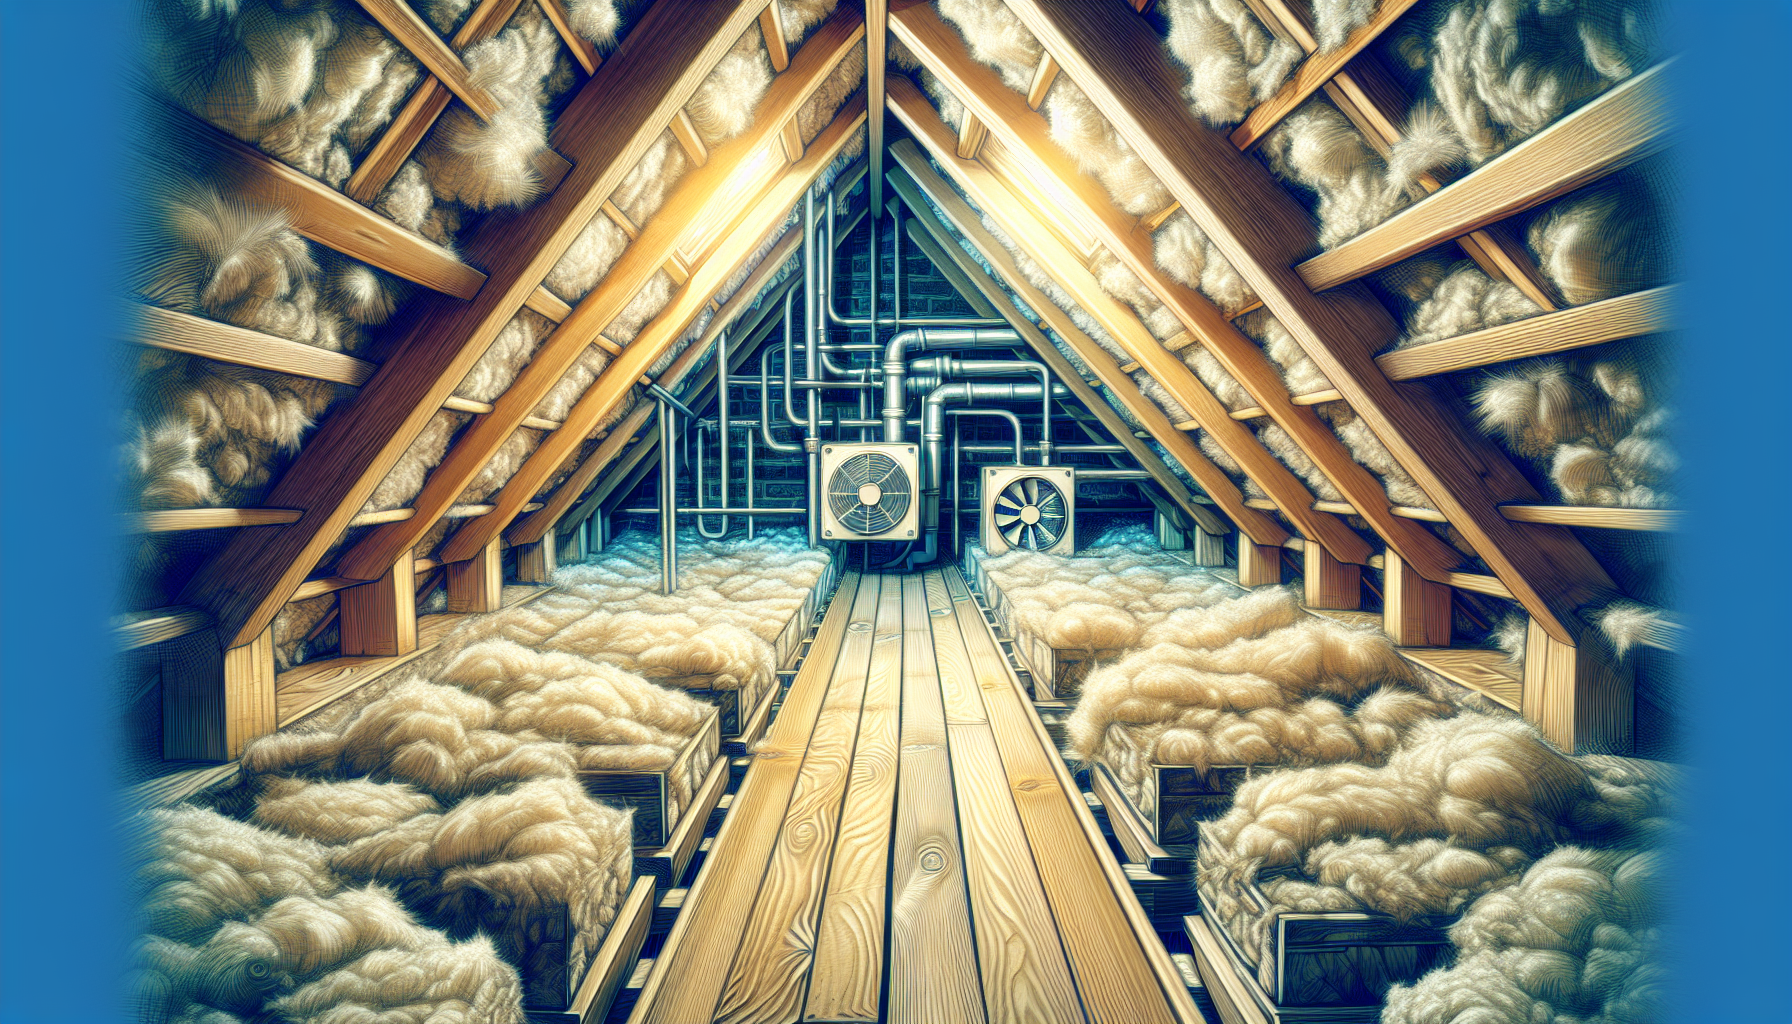
Insulation and ventilation are the silent heroes of energy efficiency. Adequate insulation is key in preventing heat loss, especially in critical areas like the attic, walls, and floors. If your home was built before 1970, it’s likely to have less-than-ideal insulation, which could be costing you more on your energy bills.
Attic insulation is especially important as it can block sweltering summer heat and retain warmth in the winter, preventing the ‘chimney effect’ where hot air escapes rapidly through the attic, pulling cold air in from below. Inspect your insulation for dirty spots, which may indicate hidden air leaks. These leaks can be sealed with low-expansion spray foam to improve efficiency.
Remember, inadequate insulation leads to losing energy, causing your heating and cooling systems to work overtime to maintain comfort.
Inspecting Attic Insulation
Attic insulation demands your attention. Several signs, such as uneven temperatures in rooms, ice dams in winter, or higher-than-normal summer cooling costs, suggest the need for more insulation. While you can conduct a basic inspection yourself, consider bringing in a professional for a more detailed evaluation.
Make sure the insulation isn’t blocking any exterior vents, as this could compromise both insulation effectiveness and air quality. Also, check for vapor barriers and seal attic hatches properly to bolster your energy efficiency efforts.
Checking Wall and Floor Insulation
Walls and floors are next on the inspection tour. The goal here is to determine if the insulation levels meet current building codes and are effectively reducing your energy costs. For walls, an infrared camera can be a helpful tool, revealing areas where insulation may be missing or insufficient.
In terms of floor insulation, pay special attention to unheated spaces like garages or basements beneath your living area. You might need to add insulation material to bring these areas up to the recommended R-values for your climate zone, ensuring optimal energy savings. Keep insulation away from older recessed lighting fixtures to prevent overheating and degradation of insulation performance.
Optimizing Heating and Cooling Systems
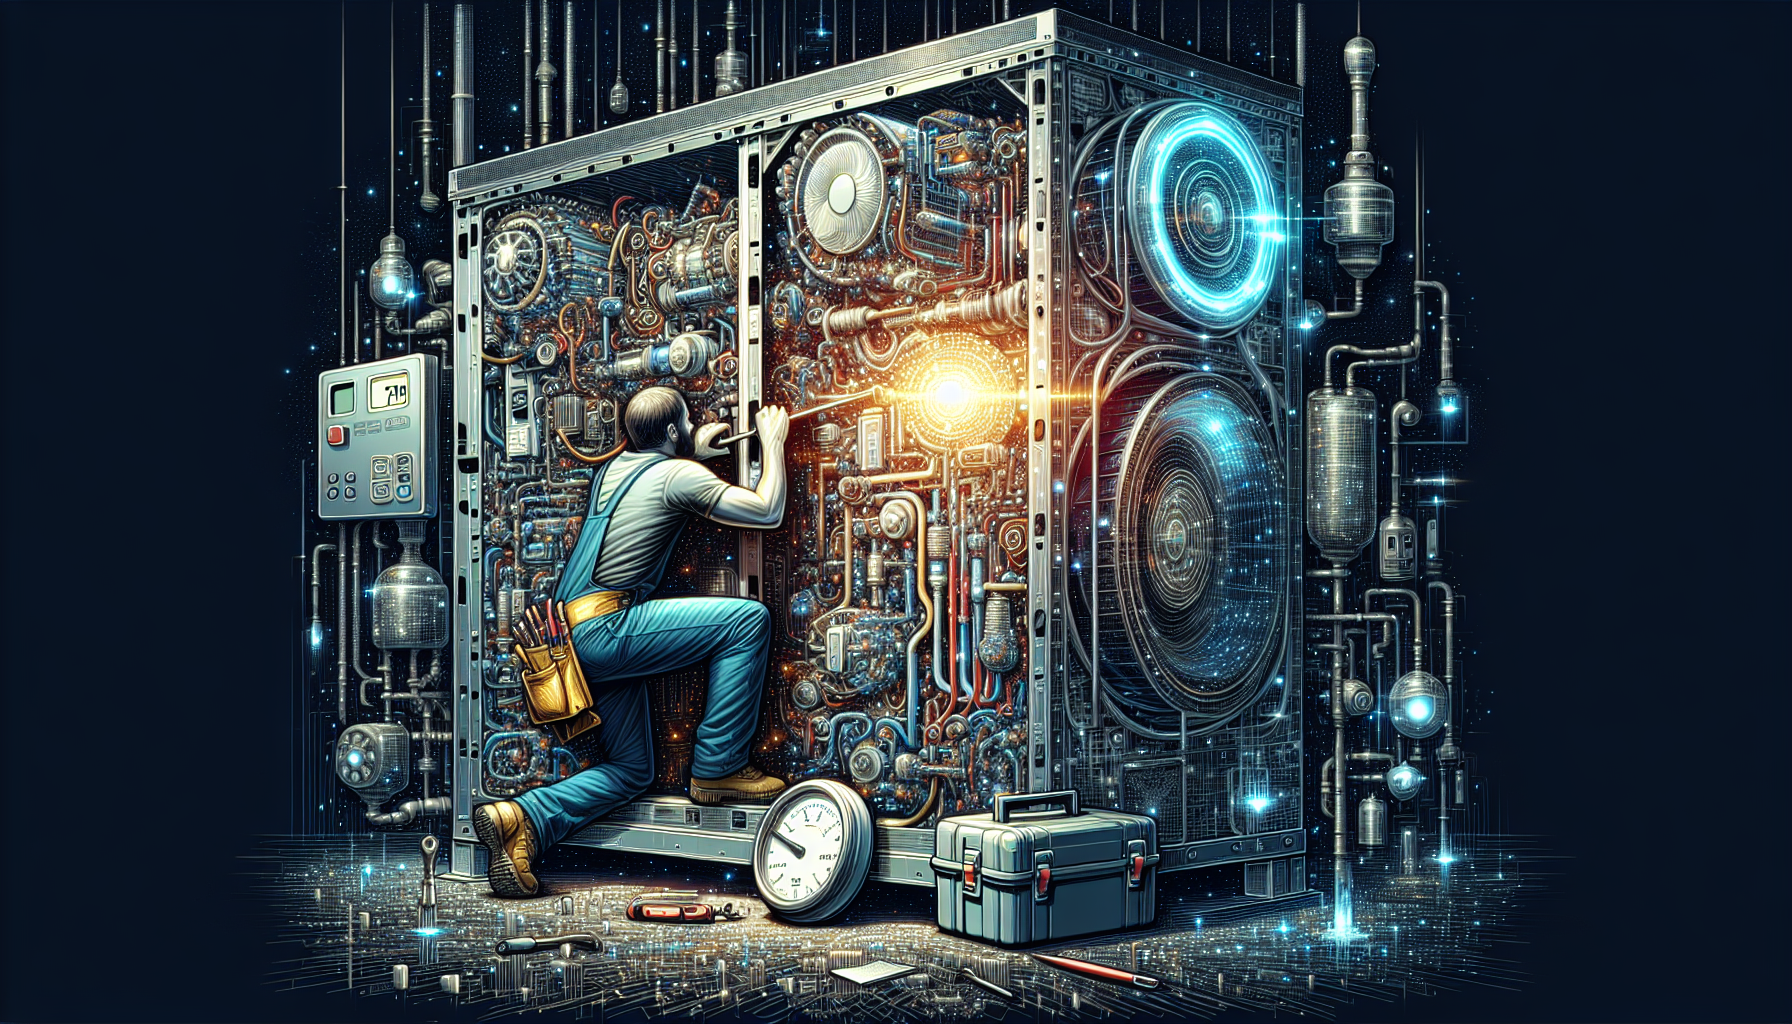
Heating and cooling systems, often powered by natural gas, are the biggest consumers of energy in the home. To optimize them, start with the basics: ensure they are well-maintained and running as efficiently as possible. Regular maintenance, including annual inspections and keeping air filters clean, is essential.
A well-maintained system not only operates more efficiently but can also have a longer lifespan. Consider annual tune-ups for your heating and cooling systems to prevent unexpected breakdowns and improve performance. If your system is over a decade old, upgrading to ENERGY STAR-certified equipment can save you an average of nearly $140 annually on your energy bills.
Furnace and AC Maintenance
Your furnace and air conditioner require regular TLC to keep them humming along efficiently. Air filters, for example, should be changed every one to two months to maintain indoor air quality and system efficiency. Regular inspections are also crucial for catching any potential issues before they become costly problems.
Simple maintenance tasks like these not only enhance the energy efficiency of your heating and cooling equipment but can also prevent more serious issues down the line. Ensure that ducts are properly sealed to prevent loss of heated or cooled air.
Upgrading Outdated Systems
If your heating and cooling systems are showing their age, it might be time for an upgrade. Newer, energy-efficient models can significantly reduce your energy consumption and costs. When selecting new equipment, be mindful that proper installation is key to achieving maximum efficiency.
Remember, an improperly installed system can reduce efficiency by up to 30%, leading to higher utility bills and a shortened lifespan for the equipment. Investing in a modern, efficient system will pay dividends in comfort, energy savings, and peace of mind.
Lighting and Electrical Efficiency
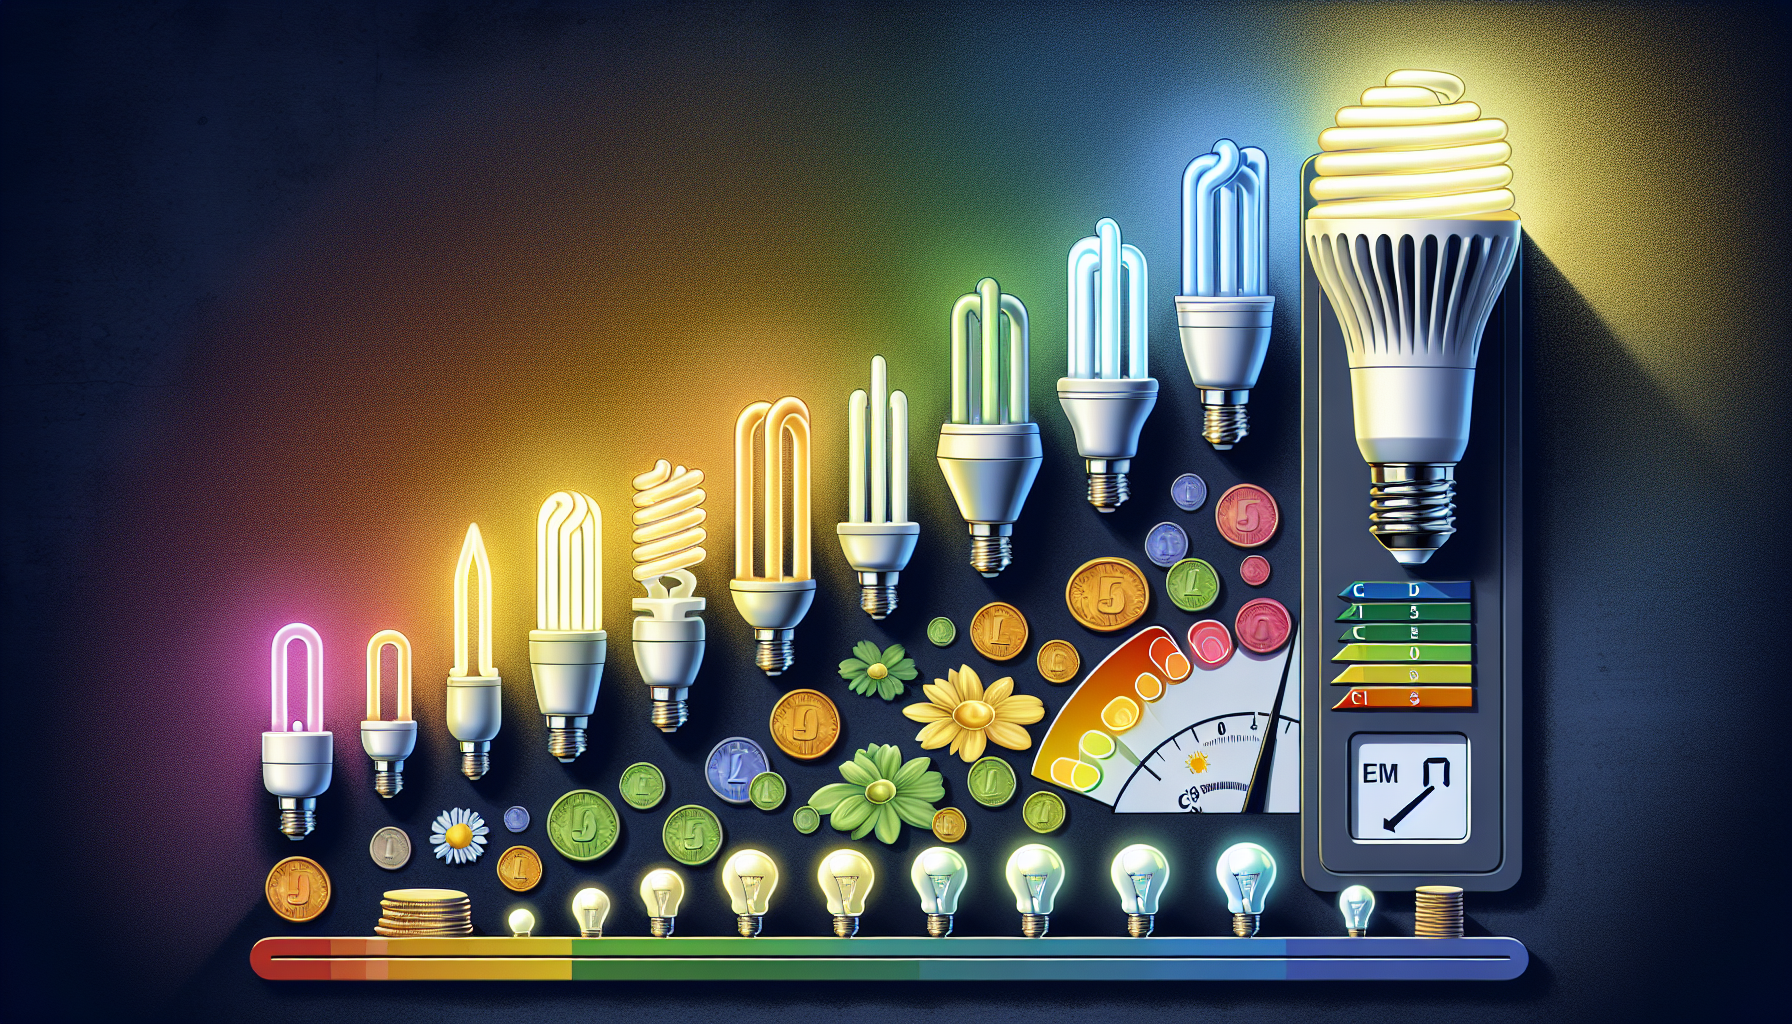
Lighting is another area where you can achieve significant energy savings. Switching to LED or CFL bulbs can reduce your lighting energy usage dramatically. With lighting making up about 10% of an average electric bill, smart choices in bulbs can lead to annual savings of up to $225.
Phantom energy drain from appliances and electronics, even when they’re not in use, can also add up to 10% of your electricity costs. Combat this by using power strips to shut off these devices when they’re not needed. Incorporating timers and sensors can further optimize your lighting usage and contribute to energy savings.
Switching to Energy Efficient Lights
The simple act of replacing your traditional bulbs with energy-efficient LEDs or CFLs is a quick win on the road to reducing your energy consumption. While the initial cost may be higher, the long-term savings on your electric bill and the extended lifespan of these bulbs make the investment worthwhile.
For those with compatibility issues or when replacing lighting fixtures, it might be best to call in a professional electrician. Take advantage of government-funded schemes that may offset the costs of upgrading to more efficient lighting solutions like ENERGY STAR-rated LEDs. Additionally, contacting your local utility company can provide further guidance on energy-saving options.
Managing Home Devices
When it comes to home devices, it’s important to understand their energy use. For instance, turning off appliances and observing the electricity meter can help identify which devices consume the most standby power. Calculating the daily cost of an appliance’s energy use can also be illuminating; simply multiply the wattage by the hours of use, divide by 1000 for kWh, and multiply by your energy cost per kWh.
When purchasing new appliances, look for the highest Energy Star Ratings to ensure you’re choosing the most energy-efficient options. Upgrading to less energy-consuming appliances can significantly reduce your electricity bill. Smart systems like Samsung SmartThings Energy can also help you manage your energy usage in a smart home environment. Home energy monitors are invaluable for providing notifications about energy use patterns, assisting you in identifying energy-saving opportunities.
Consider task lighting, such as reading lamps, to reduce dependency on main room lighting, thereby contributing to lower energy costs.
Auditing Water Heating and Usage
Water heating is another significant energy expense, accounting for about 25% of the average energy bill. Here are some ways to reduce hot water use and contribute to energy and water conservation, ultimately lowering your water and energy bills:
-
Run dishwashers and washing machines only with full loads
-
Take shorter showers
-
Install low-flow showerheads and faucets
-
Insulate hot water pipes to reduce heat loss
-
Use cold water for laundry whenever possible
-
Consider installing a tankless water heater for more efficient heating
Water-efficient appliances can also further enhance energy and water savings.
Implementing low-flow showerheads and reducing shower times are also effective measures for cutting down water and energy use.
Insulating Hot Water Pipes
Insulating your hot water pipes is a simple yet effective way to reduce heat loss and conserve energy. Here are some tips for insulating your hot water pipes:
-
Wrap the first 10 inches of the hot water supply pipe with fiberglass tape. This can lower the water temperature loss by two to four degrees Fahrenheit.
-
Use foam insulation for long, straight runs of pipe.
-
Use fiberglass insulation for areas with bends and high heat.
By following these tips, you can effectively insulate your hot water pipes and save energy.
Insulating before the onset of cold weather can maximize energy savings during winter months.
Water Heater Evaluation
Regular maintenance of your water heater is crucial for efficient operation. Lowering the temperature setting by a few degrees can lead to noticeable energy savings, especially if the thermostat is set higher than necessary or is malfunctioning. Draining sediment from the water heater also enhances its efficiency and longevity.
Additionally, insulating hot water pipes prevents heat loss as water travels to various outlets, effectively reducing energy bills.
Implementing Smart Home Solutions
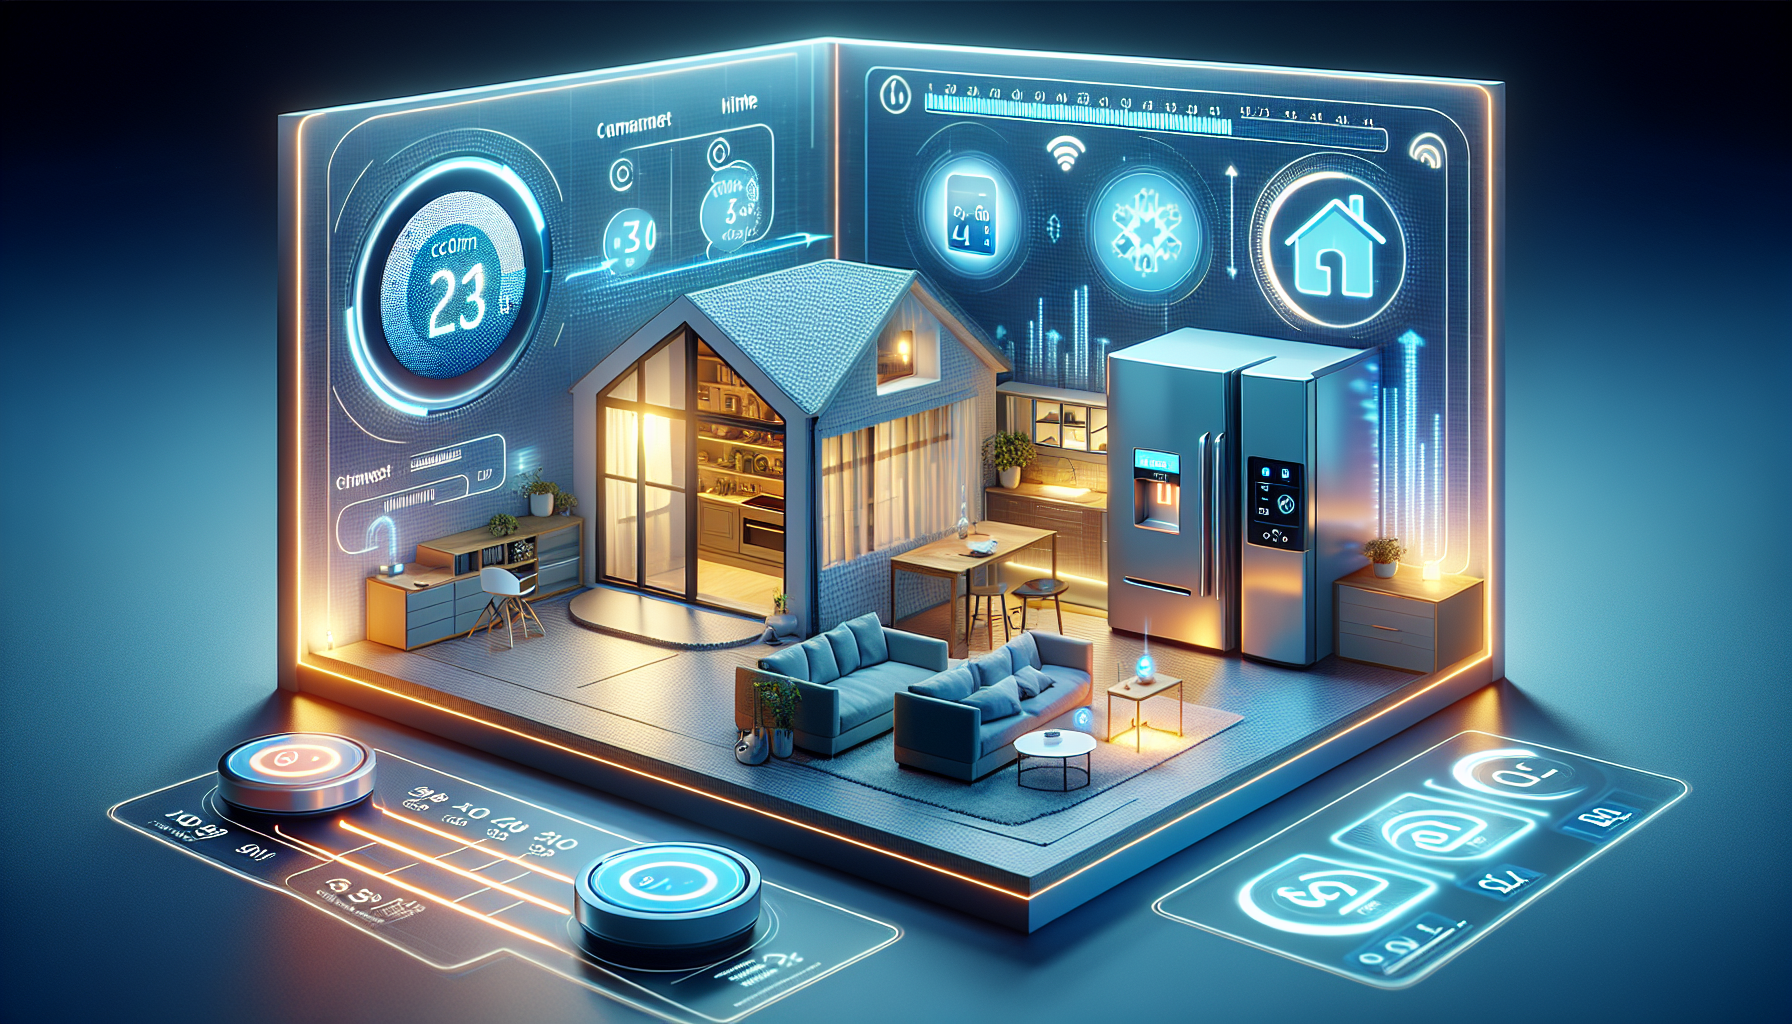
Smart home solutions are at the forefront of energy-saving technology. These systems can automate energy-saving actions according to your lifestyle, optimizing energy costs and providing insights into your usage patterns. Some benefits of smart home solutions include:
-
Automating energy-saving actions
-
Optimizing energy costs
-
Providing insights into usage patterns
-
ENERGY STAR-certified products like thermostats, lighting, and appliances that save energy and come with advanced features like connectivity.
Starting with small changes like smart plugs and lights can be an economical way to step into the world of smart home technology, offering scheduled and voice-controlled options to save energy when you’re not home.
Programmable Thermostats
Programmable thermostats are a game-changer for managing your heating and cooling systems. These devices can save you up to 10% annually on these costs by automatically adjusting temperatures to match your daily and seasonal routines. With smart thermostats, remote temperature adjustments and reductions in heating and cooling when no one is home are all possible, leading to significant energy savings.
Smart thermostats offer several benefits, including:
-
Convenience
-
Efficiency
-
Flexible scheduling
-
Adaptability to sudden changes in routine
-
Algorithms designed for specific types of heating systems, optimizing comfort and savings
Energy Monitoring Systems
Energy monitoring systems provide real-time data on energy usage, which is invaluable for identifying ‘Always On’ loads that consume energy even when devices are not actively being used. By tracking high-energy-consuming devices, these monitors can lead to an average of about $100 in annual energy savings.
Monitoring the energy usage of your water heater is particularly beneficial for reducing energy costs and ensuring efficient operation.
Developing an Energy Improvement Plan
With the findings from your DIY home energy audit in hand, it’s time to strategize. Develop a comprehensive energy improvement plan that prioritizes repairs and improvements based on the potential for energy savings and cost-effectiveness. Take into consideration your budget constraints and personal time availability for ongoing maintenance. This plan should serve as a roadmap for enhancing your home’s energy efficiency, guiding you through the implementation of each identified measure following a professional home energy audit.
If you uncover complex issues or wish to validate your findings, consider scheduling a professional home energy assessment. A professional can provide a more thorough analysis and suggest additional methods to reduce energy consumption that you might have overlooked. By following a structured plan and possibly supplementing it with expert advice, you’re well on your way to making significant strides in home energy efficiency.
Summary
Embarking on a DIY energy audit is a journey of discovery and improvement, one that can lead to substantial benefits for both your wallet and the environment. By systematically following the steps outlined—from understanding your energy profile to implementing smart home solutions—you’ll be able to identify opportunities for energy savings and create a more comfortable, sustainable home. Remember, energy efficiency is not a destination but an ongoing process, and every step you take makes a difference.
Frequently Asked Questions
How often should I conduct a DIY energy audit?
It is recommended to conduct a DIY energy audit annually to assess the impact of energy-saving efforts and identify areas for further improvement.
Can sealing air leaks really make a difference in my energy bills?
Yes, sealing air leaks can make a significant difference in your energy bills, saving you between 10% to 20% annually by preventing wasteful loss of heated or cooled air.
Is it worth upgrading to LED lighting even if my current bulbs are still working?
Yes, it is worth upgrading to LED lighting even if your current bulbs are still working, as LEDs are more energy-efficient and have a longer lifespan, saving money on energy bills over time.
Should I replace my heating and cooling system even if it's not broken?
Yes, if your heating and cooling system is over 10 years old, replacing it with an ENERGY STAR-certified system can be more energy-efficient and cost-effective in the long run.
How can smart home solutions help me save energy?
Smart home solutions can help you save energy by allowing you to automate energy-saving actions and gain insights into your energy usage, ultimately helping you make more informed decisions about energy consumption.


